| Return to the User Manual |


|
Clavitudo Quickstart
At the first usage of the app, or if there are no instruments installed, you see this image:

With the button at the top left you get a menu, which in the following we shall call the Clavitudo menu, with instrument-spanning functions. Now the following task are to do:
Describe MIDI hardware.
In this step, a list of MIDI channels and corresponding named keyboards is created. By the names defined here, lateron for every instrument a mapping will be done of each of its instrument keyboards to one of the MIDI keyboards of this list.
The editor for the Hardware settings can be reached by the same-named entry of the Clavitudo menu:
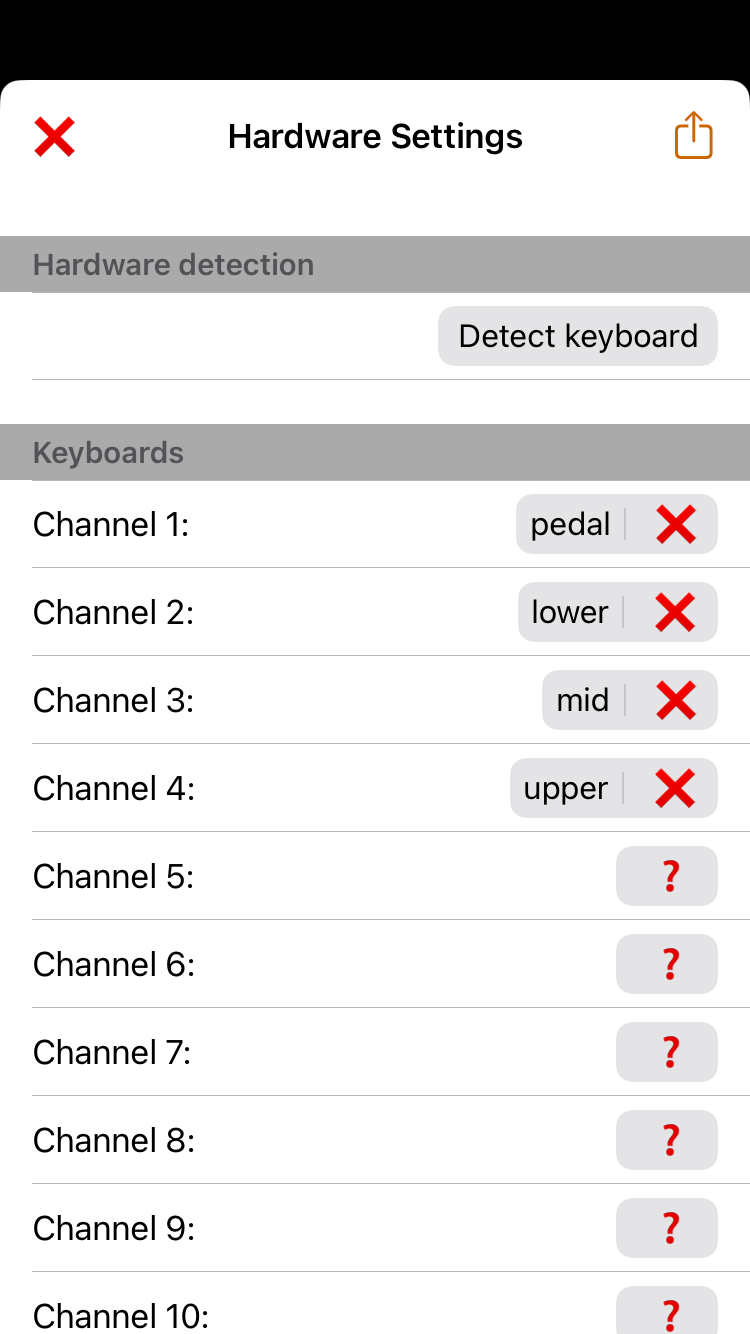
You can enter a MIDI keyboard manually by giving a name to the MIDI channel that it sends on. This is done by tapping the question mark or a previouly created name. Or you apply the automatic detection with Detect keyboard. For this, a key of the MIDI keyboard must be pressed, followed by entering the name.
With Clavitudo 0.9, the process has changed. Furthermore there are now two additional sections, namely for MIDI rulers and MIDI switches. Starting with Clavitudo 1.2, there is the option to input MIDI keyboards by manual channel entry instead of channel detection. A description of these improvements will follow in the near future.
By the menu button at the top right, a hardware configuration can be saved with a name. By this you can create several configuration if you use a device as a sound generator at different consoles. By selecting the same keyboard names in different configurations it is achieved to just have to select the corresponding hardware configuration when you switch to another console. Again, this is done with the menu button at the top right. Then for switching the console, nothing must be changed in the instruments.
Add instrument(s).
In this step, the sound and possibly other files of an instrument are copied from a sample set to the instrument directory. Beforehand, the sample set must be downloaded from an appropriate place and saved to an accessible folder.
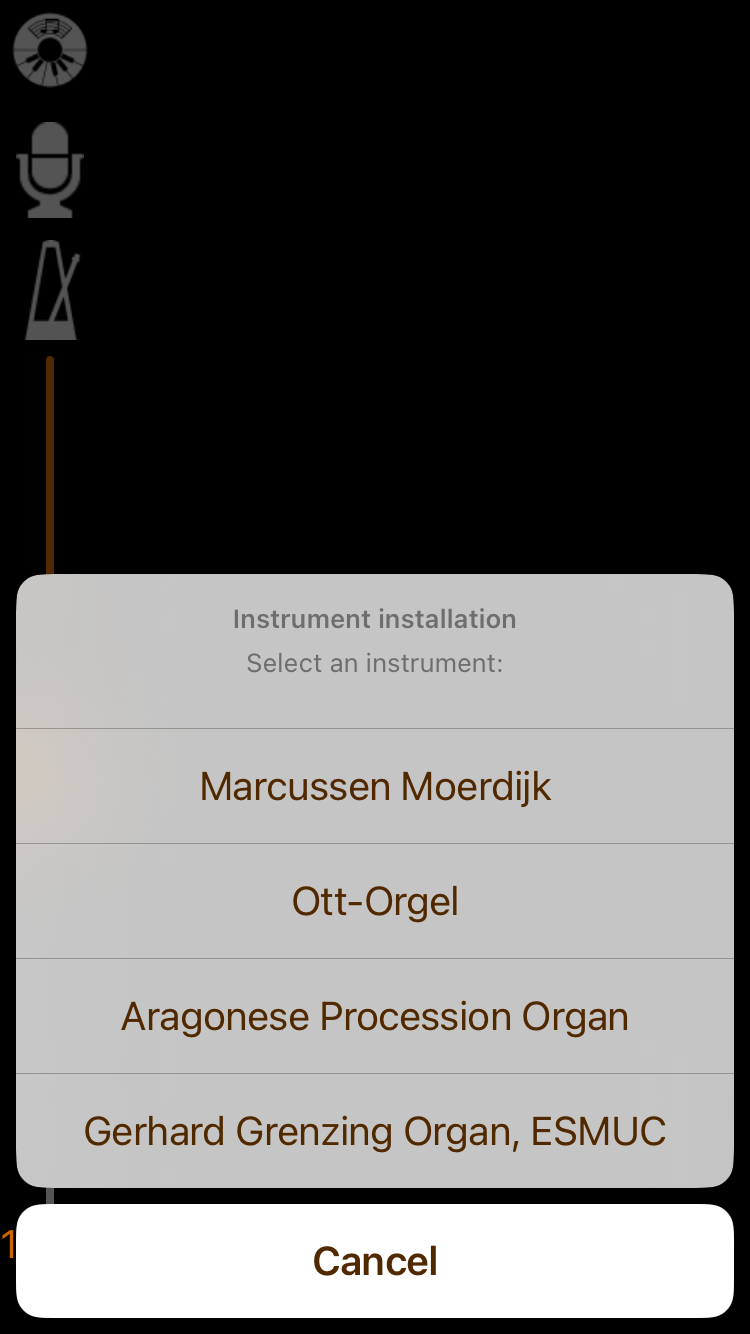
A list of the supported instrumente is shown after tapping the plus sign or selecting the entry Add instrument of the Clavitudo menu:
After selecting an instrument, information about the needed sample set file is shown:
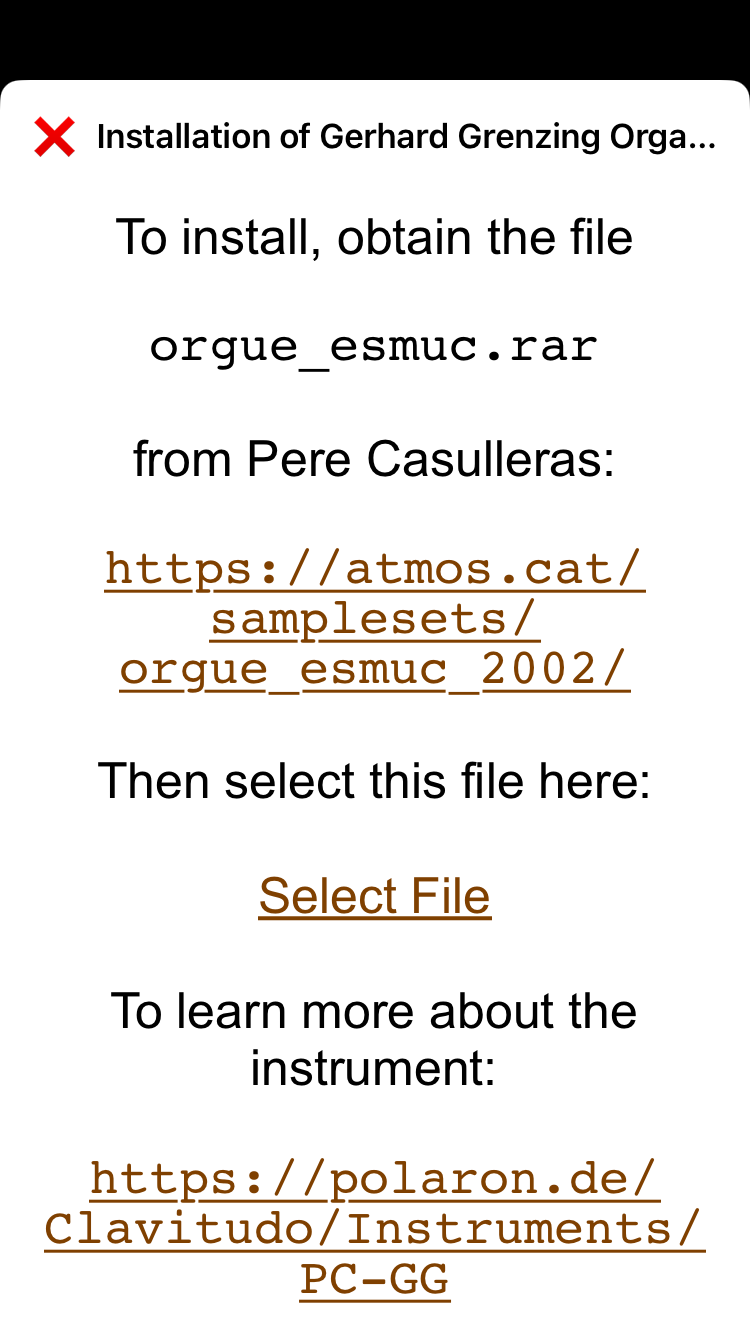
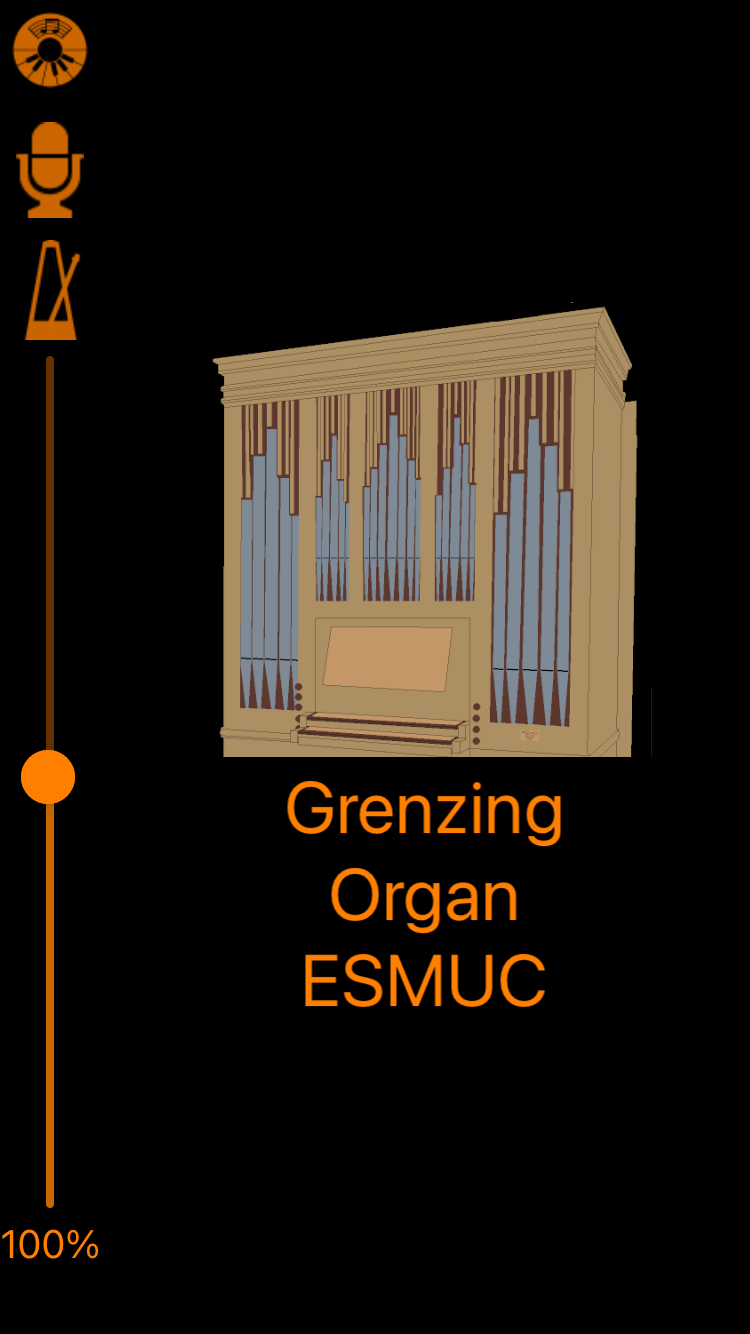
After tapping the URL for retrieving the sample set, the page is opened in the web browser. There, download the file and drop it at a place of your choice. Following, with Select File you can select the file for the installation, and, after confirmation, perform the installation. Afterwards the instrument is represented by an icon in the administration view:
Map manuals / pedals of the instrument(s) to MIDI hardware.
Finally, the instrument keyboards have to be assigned to the MIDI keyboards. This is done via the MIDI keyboard names that were defined in the hardware settings as explained above.
To establish the assignment, open the instrument by tapping its icon:
In the instrument menu at the top right select the entry Instrument settings and go to the section Instrument keyboards. There, for each instrument keyboard select a MIDI keyboard by tapping is controlled by:

That's all. The instrument is now ready to be played by the MIDI keyboards.
Start subscription
After installing the app, only the instrument Jeux d'orgues 2 is fully playable, other instruments are limited to three octaves. To play the full note range of all instruments, you need a subscription.