| Return to the Thafknar Support Page | Return to the Thafknar User Manual |
The Files view
The Files view is built of up to four sections, each of which shows the files of a certain type and exists only if there are any files of the respective type. The specifics of each of the four sections will be described below.
At the top right of the Files view there is an action button This opens an action menu with various entries for filtering, sorting, copying/importing and deleting files as well as for iCloud functionality.
The entries Set filter and Remove filter are new in Thafknar 8.4. When you input a filter text, only those files will be shown whose names include this text. Starting with version 8.5, the filter is case-insensitive.
When you select Sorting, you will be presented another menu with the entries by date, by length, and by name, furthermore by date, reversed etc. The meaning of these options is obvious. The currently selected sorting method is marked with a hook. This setting affects only the Audio Files section. Cancelled recordings are ordered by date, impulse archive files and image files are ordered by name.
Copying/Importing gives you a menu with two entries:
-
Import from media library: You can import (not
copy-protected) audio files from your media library. After tapping
this menu item, you get a standard iOS media picker view where you can
select one or several audio items. It is a known and annoying 'feature'
of the media picker that there is no deselect and no cancel
functionality.
In recent iOS versions, the user needs to give permission to let an app access the media library. When you try to import audio files for the first time, iOS will ask you to give this permission to Thafknar. In case of refusal, you won't be asked again at subsequent times, but the media picker won't work. You can change this setting anytime in the Settings app of your device, in the section Privacy – Media Library.
-
Copy short files to IR library: This entry is present
only if there are audio files. It lets you copy all 'short' audio files
(you can select the files with a duration of up to 5, 10 or 15 seconds)
to the
Userset of the impulse response library. After the copy process is completed, you are asked if you would like to delete the copied files from the documents directory.
Deleting opens a menu with deletion actions:
- Delete short audio files: An additional option to delete short files (again, files with a duration of up to 5, 10 or 15 seconds). Audio files that are used in Sounding Presets are exempted from deletion.
- Delete all audio files: Deletes all audio files from the documents directory, but only after asking the user for confirmation. Audio files that are used in Sounding Presets are exempted from deletion.
- Delete cancelled recordings: Deletes all cancelled recordings, but only after asking the user for confirmation.
Finally, selecting iCloud gives you the option to move all audio files from the device to iCloud or vice versa.
Now we come to the specifics of the four sections of the Files view.
Audio Files section
This is a list of all audio files in the app's documents directory, whether they were created by the app's audio recorder, uploaded by iTunes File Sharing, imported from the media library, or handed to the app by Document Interaction.
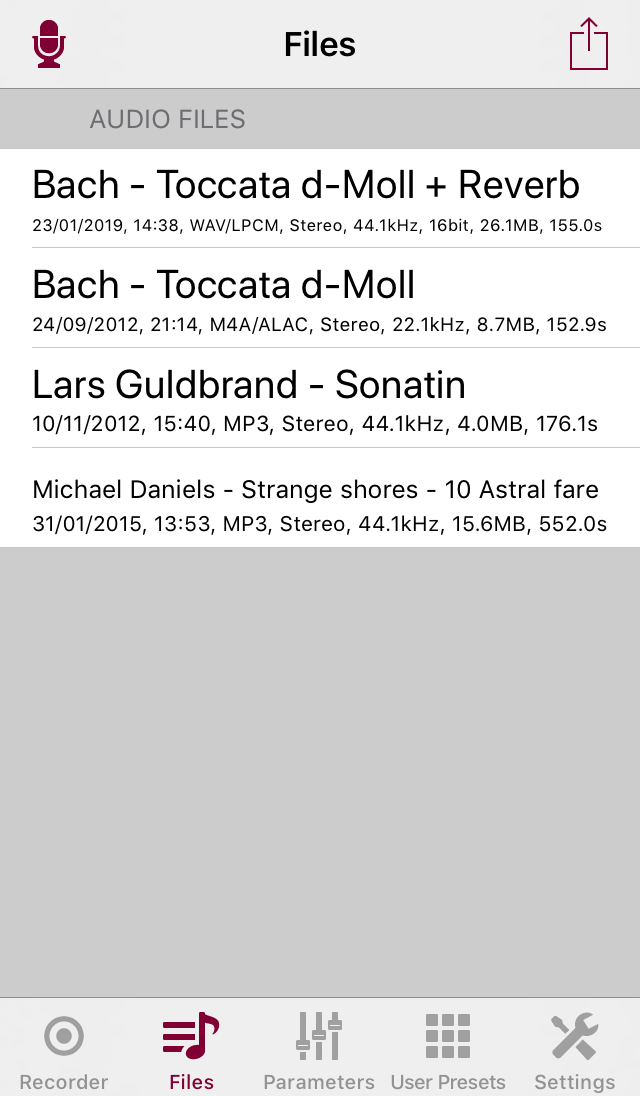
Thafknar supports iCloud to make it easy to share files with your other iOS devices, with your Mac, or with other apps. When you enable iCloud Drive for Thafknar in the device settings, you see an icon to the left of each audio file which indicates if the file is stored locally (iPhone symbol) or in iCloud (cloud symbol). The action menu that you get by long-tapping a file has an entry for moving the file from the device to iCloud or vice versa.

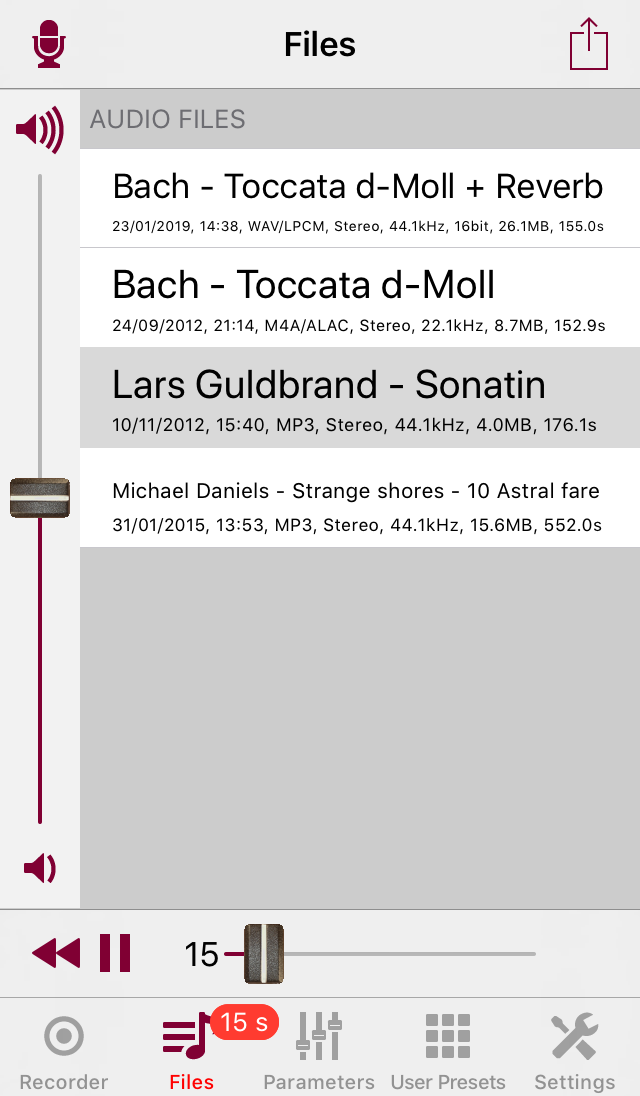
When you select an audio file, you get play controls at the bottom of the view and volume controls either at the left or at the bottom of the view (the location is configurable in the Settings view). Tap the file again to deselect it. When an audio file is selected, the slider shows the playing position and can be moved to jump to a different position. You can also long-tap the time display and enter the number of seconds. During playback, the label in the tab bar shows the elapsed time:
If you have activated reverb in the Parameters view,
then when you select a file in the list, reverb will be added when you
play this file. However, when you select a file whose name has the suffix
"+ Reverb", the app will deactivate the reverb.
The behaviour is this way because the suffix "+ Reverb" is
appended by the Copy with reverb function, which shall
be described shortly. However, if you would like to add a second layer of
reverb, you can, after selecting the file, still reactivate the reverb in
the Parameters view.
When you later select a file that does not have this suffix, the app will restore the previous state. I.e. when reverb was / was not active before you selected the file with the suffix, the reverb will / won't be active when you later select a file without the suffix.
Deactivated reverb is indicated by "‐" as the icon of the Parameters view:

You can delete an audio file by swiping its entry to the left. By long-tapping you select the file and get an action menu with a subset of the following options:
- Play: Plays the selected file. Starting with Thafknar 8.5, this menu entry is named Play once.
- Play as loop: Plays the selected file in an endless loop. This is useful in particular for short files. It gives you time to experiment with reverb parameters.
- Play all from here: Plays the selected file and all subsequent files in the list. New in Thafknar 8.5.
- Copy to impulse responses: Copies the selected file to the impulse response library.
- Create Sounding Preset: This option is new in Thafknar 5.0. It creates a preset that plays the selected audio file. You can add a reverb setting to this preset in the User Presets list view.
- Copy as... – Copy to M4A/ALAC: Copies the selected file to an M4A file with Apple Lossless Audio Coding. The size of this file is typically about 50% smaller than that of a 44.1 kHz / 16 bit WAV file, but no quality is lost. This option is not available if the selected file is an MP3 or M4A file.
- Copy as... – Copy to M4A/AAC: Copies the selected file to an M4A file with Advanced Audio Coding. The size of this file can be about 90% smaller than that of an uncompressed WAV file. This option is not available if the selected file is an MP3 or M4A file.
- Copy as... – Copy with reverb, 16 bit: Creates a new
16 bit WAV file by adding reverb to the selected file. The WAV file's
name is built by adding the suffix
+ Reverbto the name of the selected file. By selecting No reverb in the Parameters view, you can (mis)use this function to convert other file formats to WAV files. - Copy as... – Copy with reverb, 24 bit: The same, but a 24 bit WAV file is created.
- Duplicate: Create a copy of the file. You have to enter a file name.
- Rename: Allows you to change the name of the selected file.
- E-Mail: Lets you send the selected file as an e-mail attachment. Remember that you can convert a WAV file to an M4A file to get a smaller size.
- Open In...: After tapping this option you can select an app, provided there is another app that has registered to handle the selected file type. Usual candidates are other sound processing apps or sharing apps. With iOS 11, you can copy the file to iCloud Drive and then access it with the Files app on iOS, with the Finder on macOS or with any web browser at the icloud.com service.
- Move to iCloud: For moving the file from the local storage to the app's container in iCloud Drive. It is then directly available to instances of the app running on other devices. The iCloud files are also visible for the Files app and in the iCloud Drive section of the macOS Finder.
- Move to device: For moving the file from the app's iCloud container to the local storage.
If a file is being used for a Sounding Preset, then this is indicated by a button symbol before its name:

You will get a warning when you try to delete a file of this kind. When you rename an audio file, all affected presets are modified automatically.
Cancelled Recordings section
Because it may happen that you cancel a recording by accident, or cancel it by intention but decide later that it was not so bad after all, we thought it would be a good idea to preserve the files in the first instance. Remember, however, that cancelled recording are kept only if the appropriate option in the Settings view is set.

The action menu that you get by long-tapping a cancelled recording has options to play the recording, to restore it to the Audio Files section, to rename it, or to move it from the device to iCloud or vice versa. Swipe to the left to delete a cancelled recording.
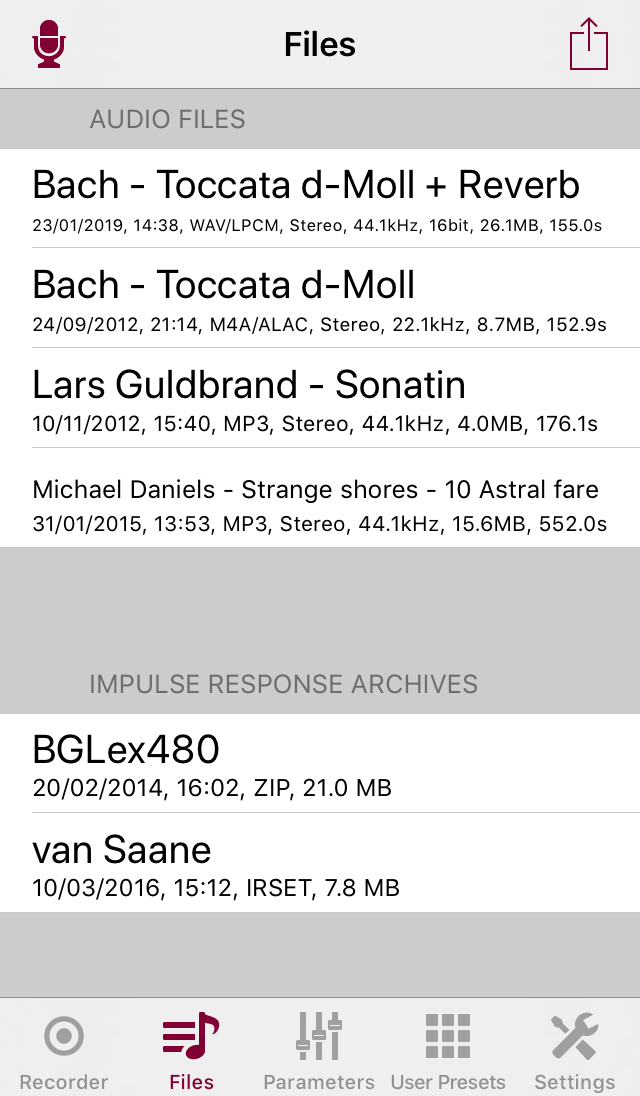
Impulse Response Archives section
The Files view does also serve for managing impulse
response archives in the app's documents directory. An impulse response
archive is a zip file with extension zip
or irset, containing impulse response files. You can use
iTunes File Sharing to transfer impulse response archives. You can also
use the Download zip archive function that you find in
the action menu of the Convolution tab of
the Parameters view. Or you can use Document
Interaction, for example by long-tapping e-mail attachments or tapping a
suitable link in a web page. Again, you can share IR archives with your
other iOS devices via iCloud. For more details about impulse response
file management, see here.
As usual, you can delete a file by swiping its entry to the left, while long-tapping opens a menu to unpack the archive to the impulse response library, as well as the usual rename etc. functions. Even when you have unpacked an impulse response archive, it is a good habit to preserve the archive in the documents directory. This helps keeping the impulse response library tidy. If you don't need an impulse response set, you can delete it from the library and possibly re-install it later by unpacking the archive once again.
Image Files section
This section shows image files that you have uploaded to the app with any of the common methods or (in Thafknar 5.2 and later) taken with the camera or imported from the photo library. The images are intended to be used as button images for the presets grid view that is new in version 5.0 of Thafknar (see here for a description of this feature). For example, images of guitar amplifiers would be appropriate if you use Thafknar for cab simulation.
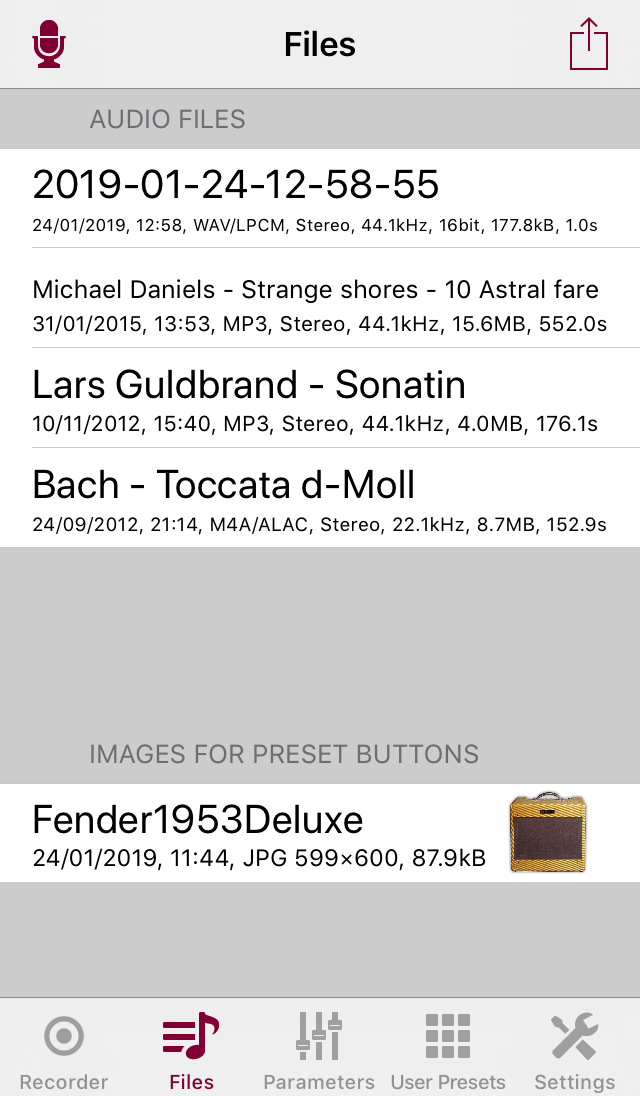
The Fender Guitar Amplifier image in this screenshot is a Wikimedia Commons preview file, see commons.wikimedia.org.
Image files that are linked to a preset are handled like audio files that are used in a Sounding Preset, i.e. they are marked with a button image, they can be deleted only after a warning, and renaming leads to an automatic modification of all affected presets.